Performing Rigs
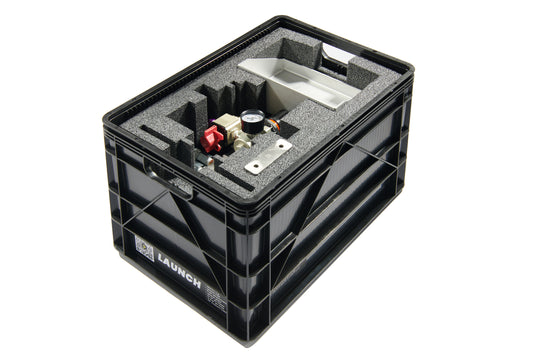
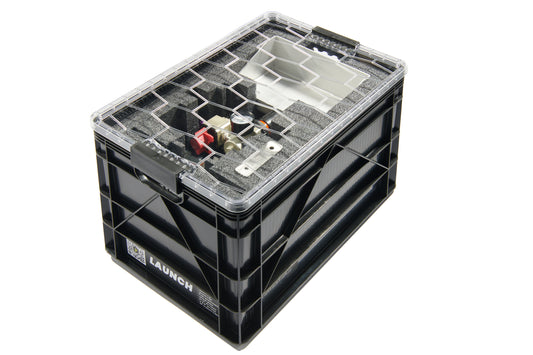
Launch
Launch
Product Code: PL-001
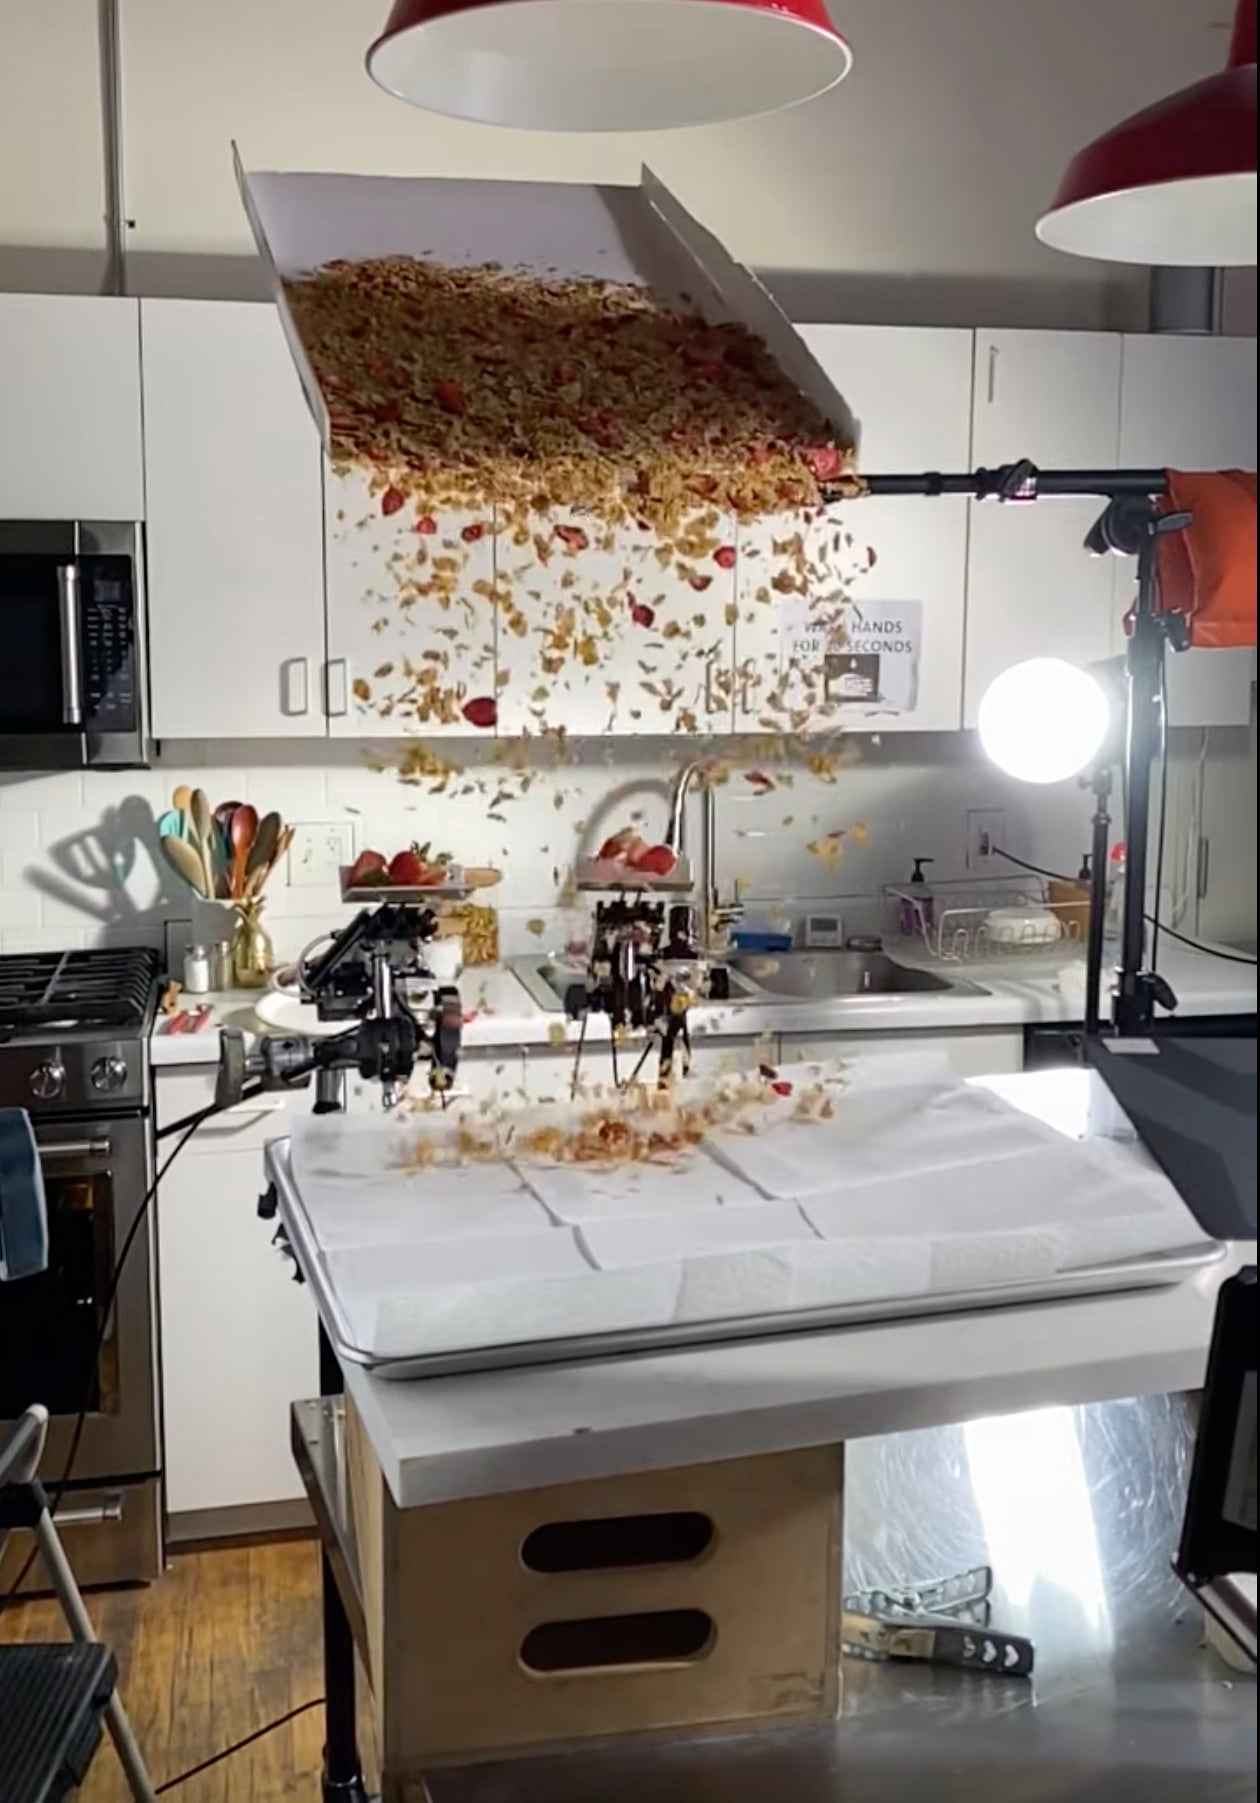
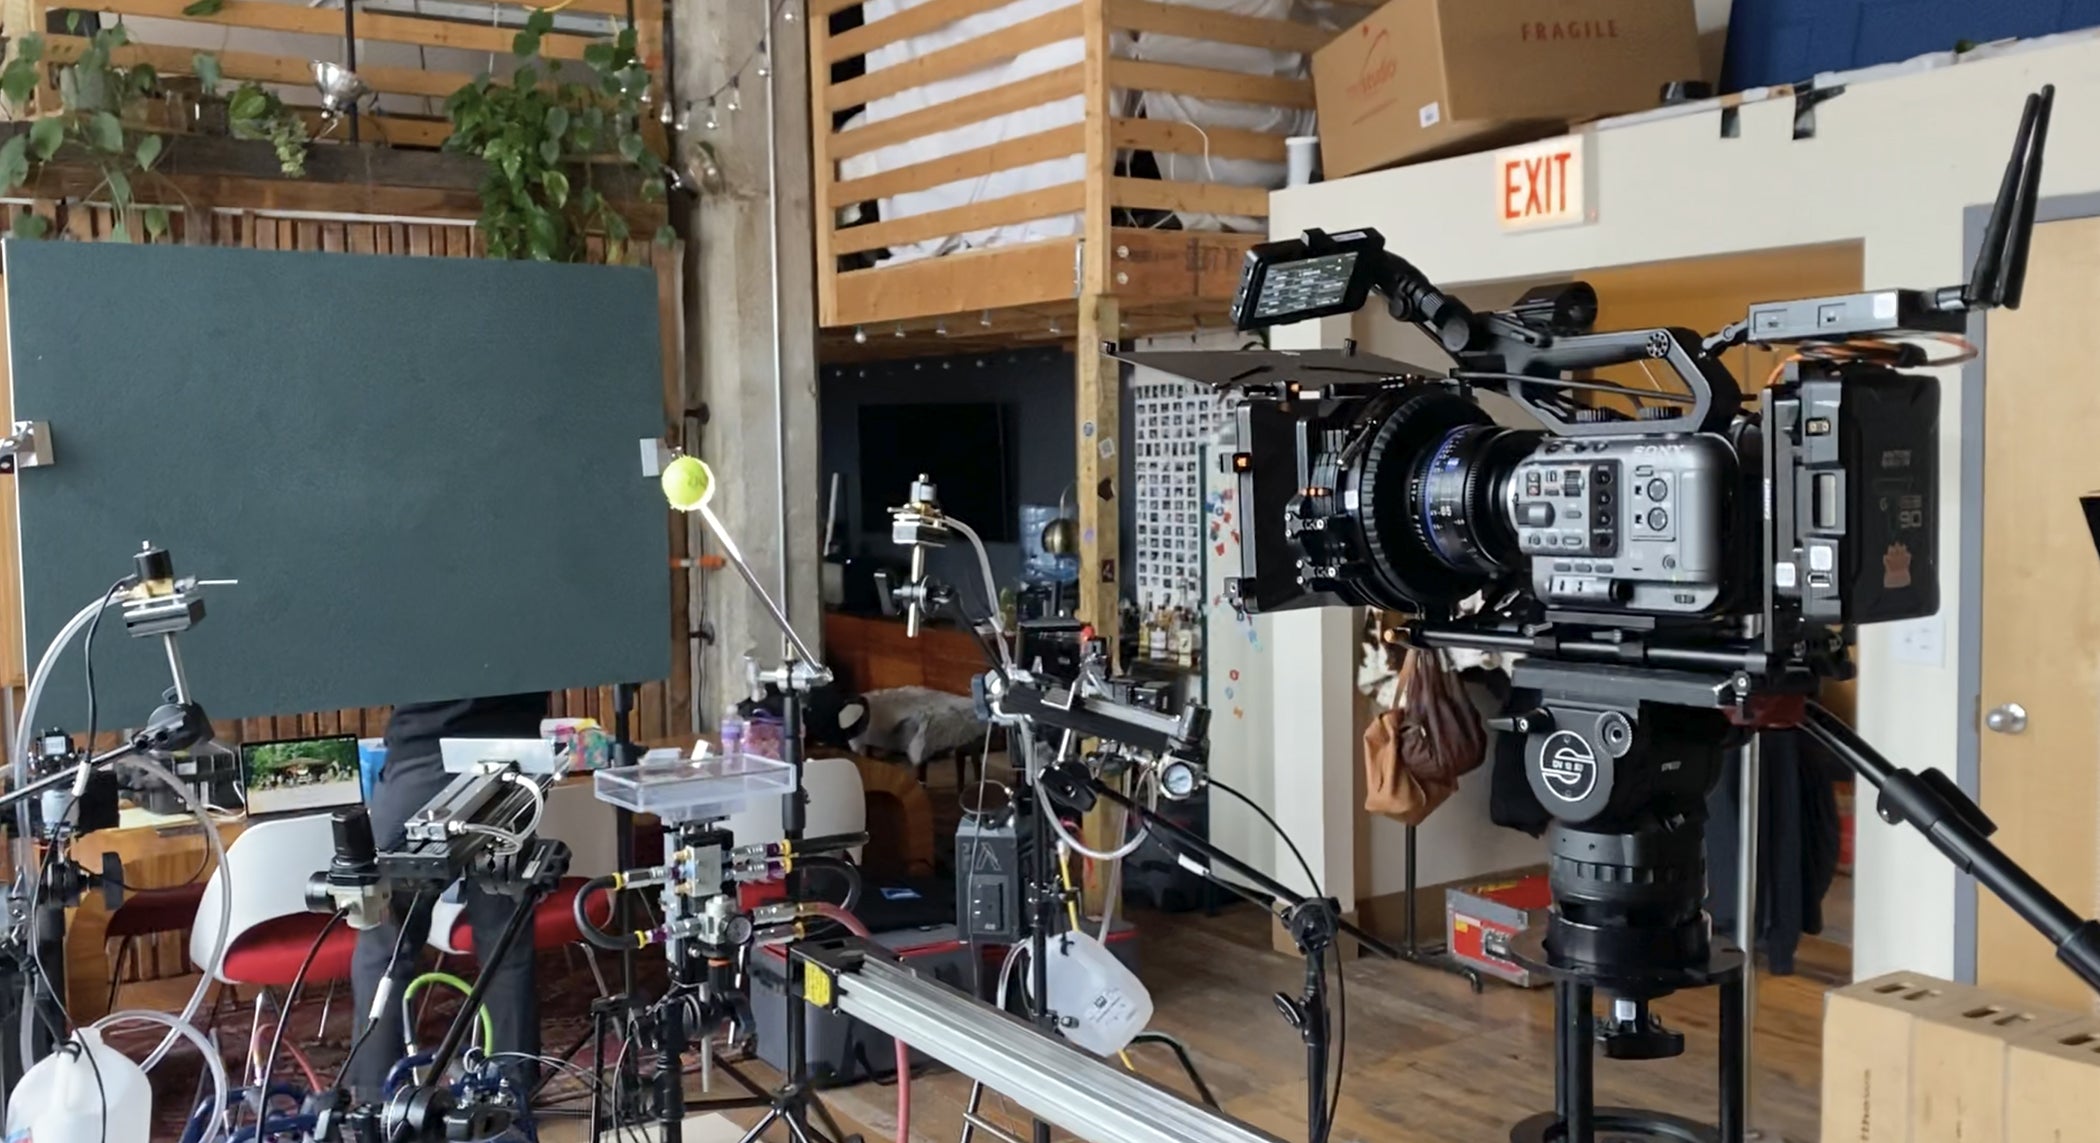
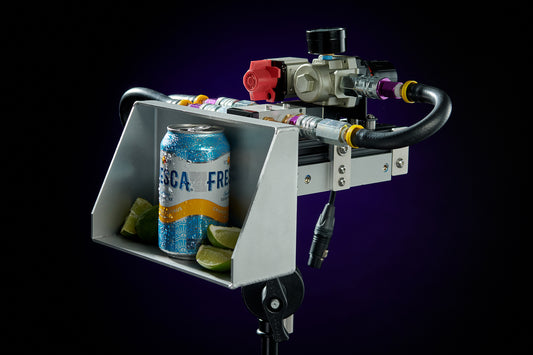
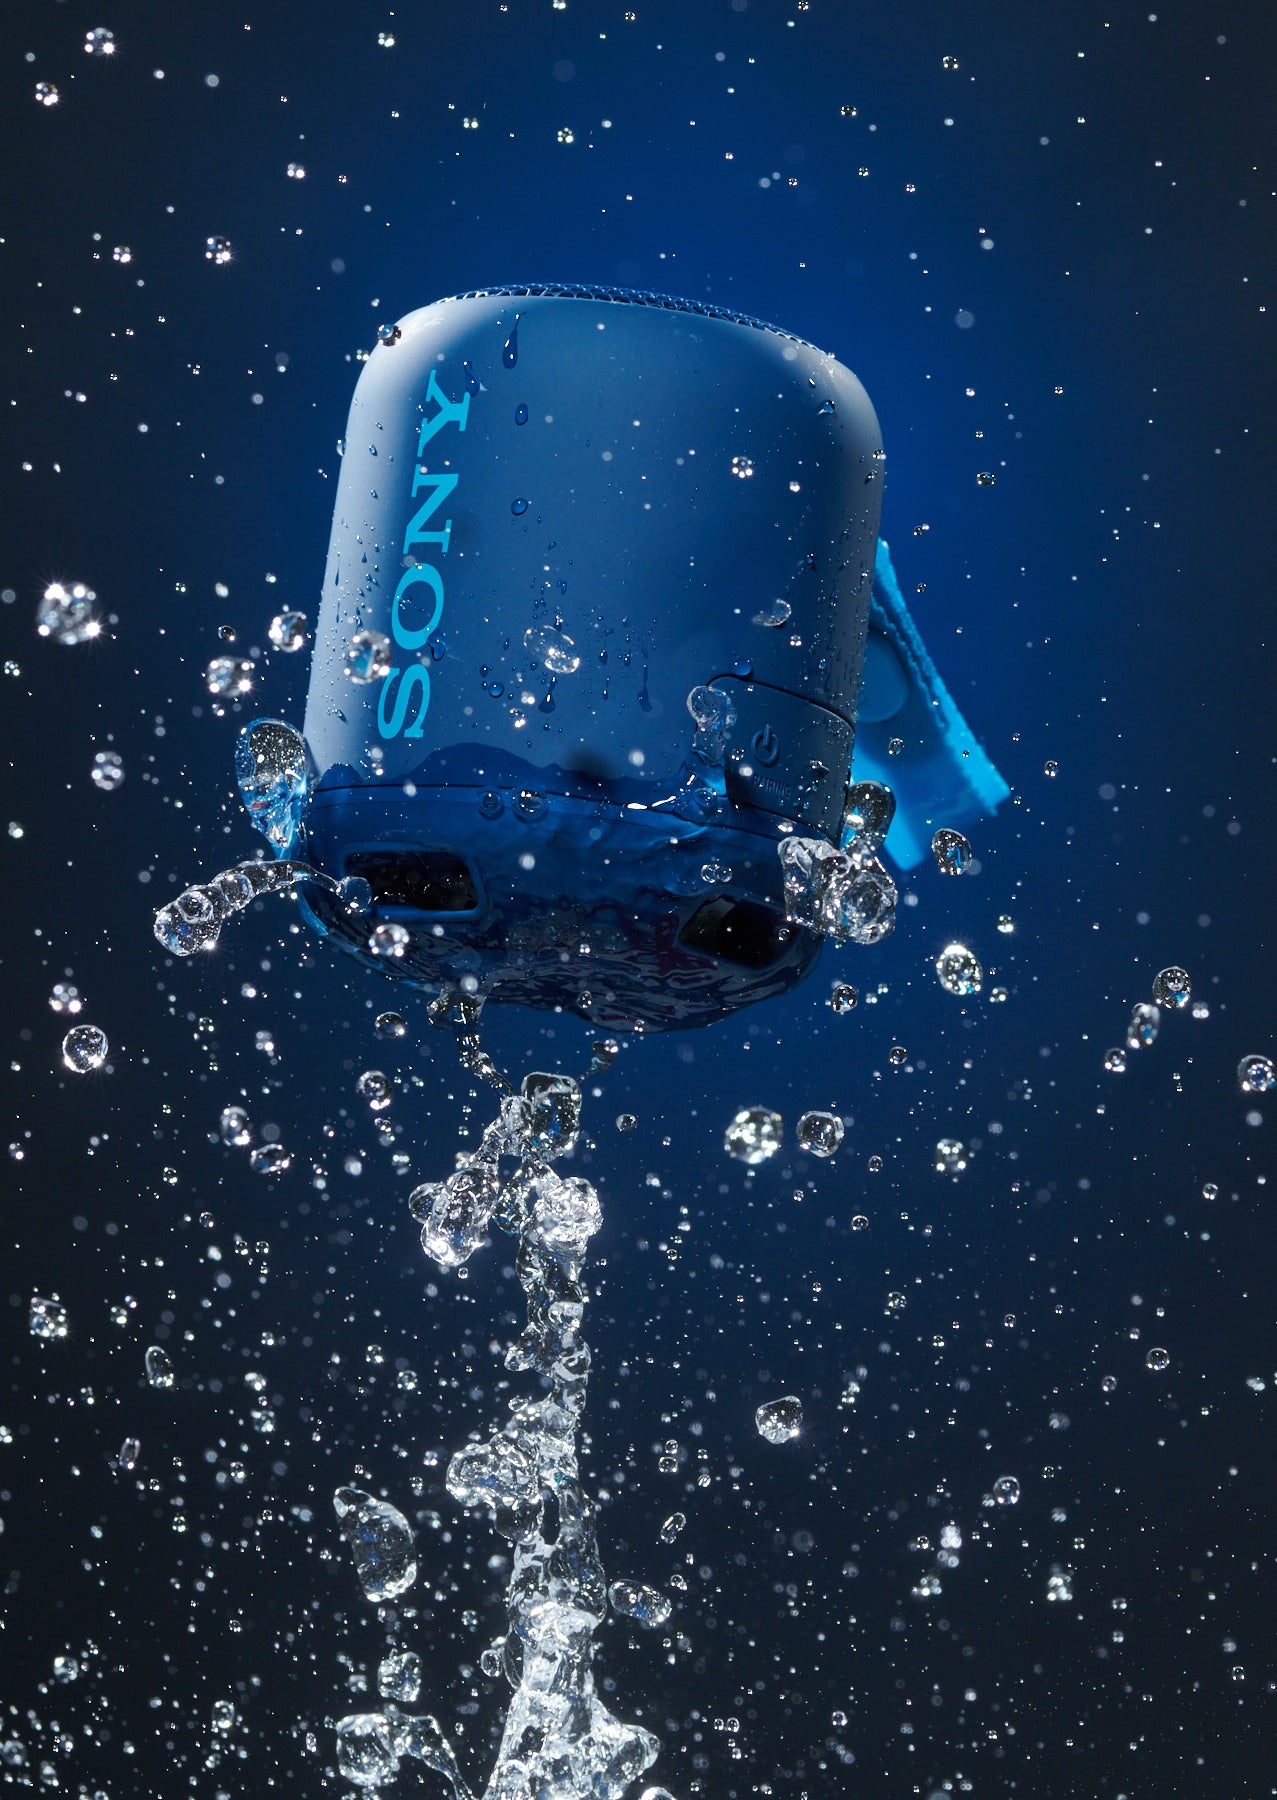
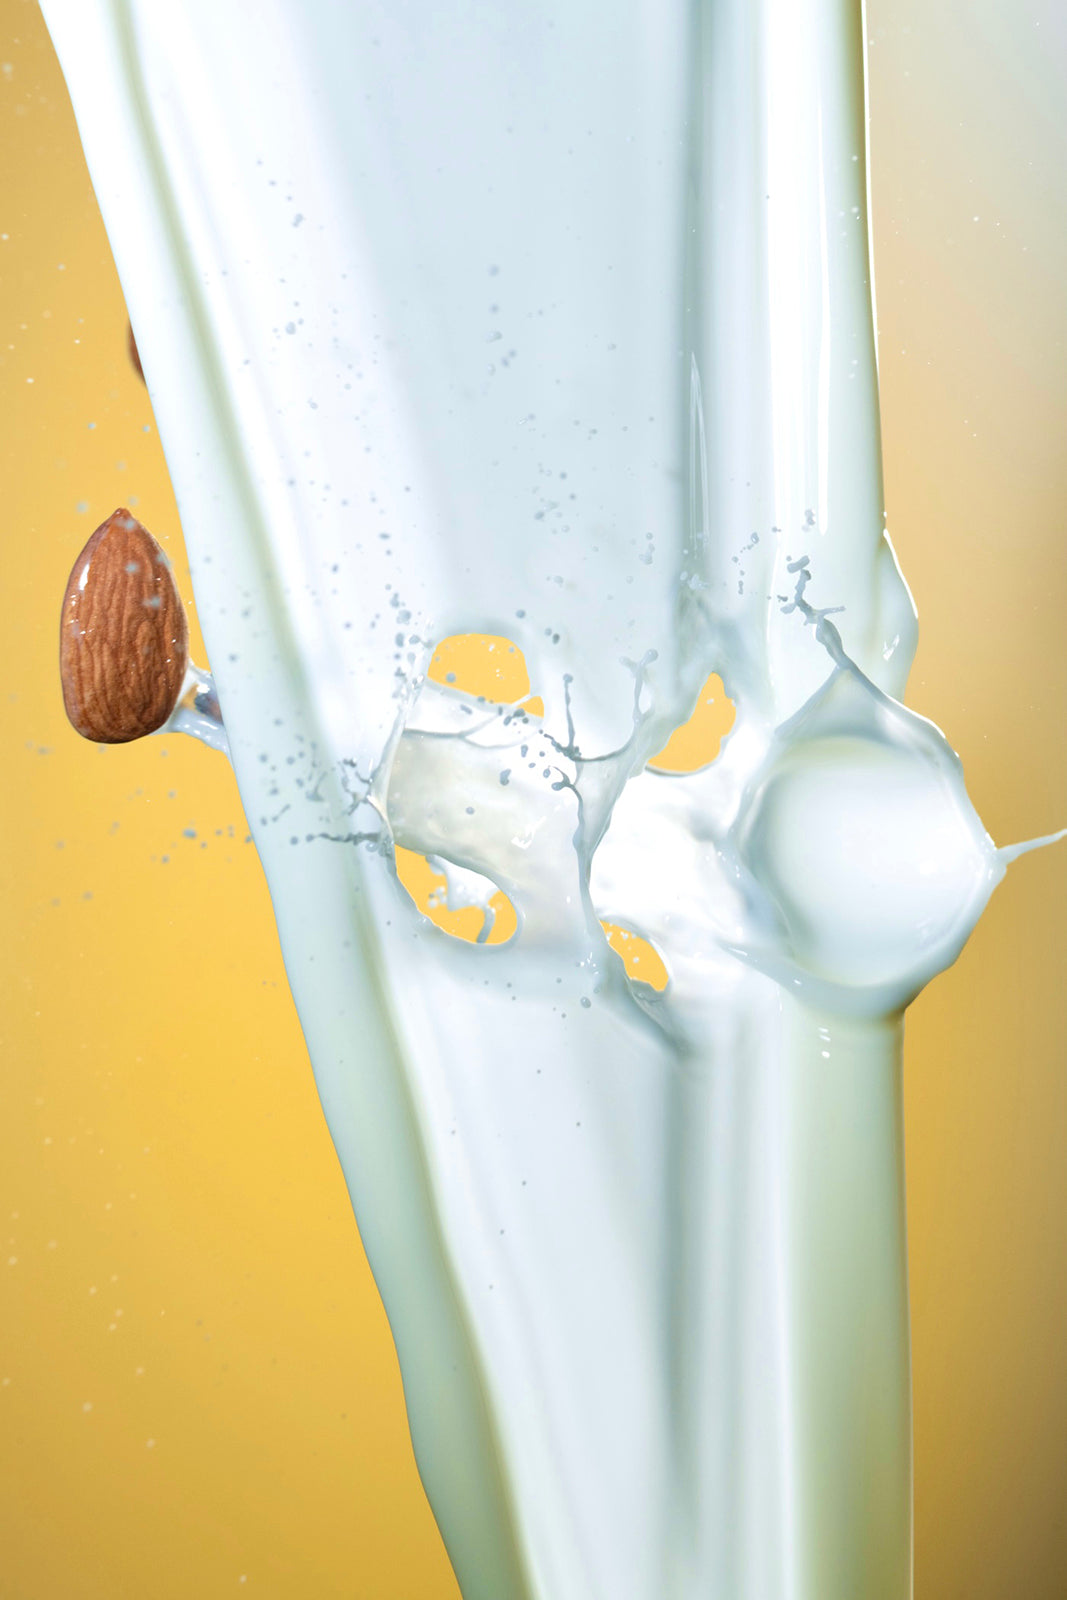
Multi-angle concussion platform for projecting solids & liquids
Features
- Large surface area allows for a multitude of items to be Launched
- 1/4" holes on Launch Pad allow for mounting additional items
- Manual shut-off Safety Valve to depressurize the Rig
- Integrated in-line Safety Switch to prevent errant signals from controller
- Quick connects for easy setup
- Suitable for wet applications
- Available in 12V or 24V configurations
- Adjustable pressure up to 100 psi
- 15 lb. load rating
Includes
- 6"x9" flat metal Launch Pad
- Extra long Baby Pin (5/8 x 6”) for flexible positioning on set
- 15' Rubber air hose with fittings
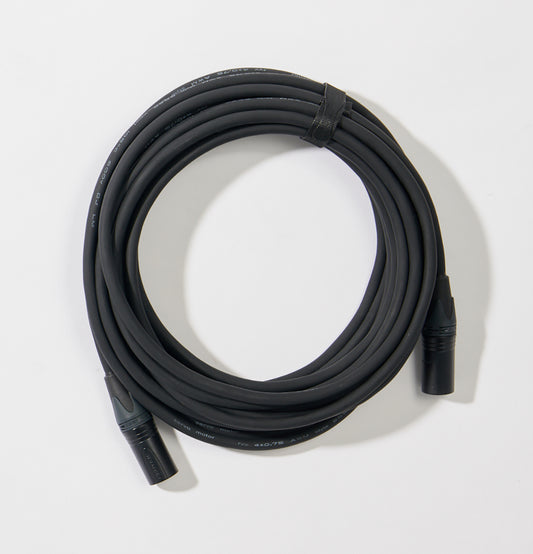
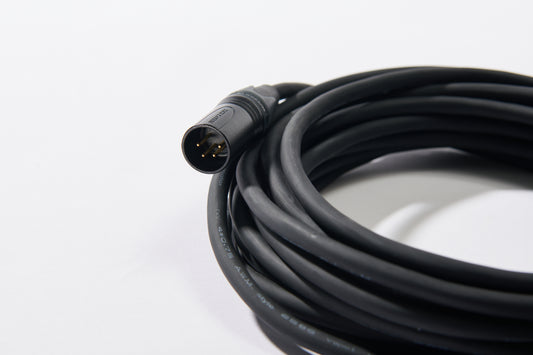
- 25’ Custom cable for connecting Rig to your controller
Power Supply
Power supply not included
- The valve on this Rig requires a 12 volt or 24 volt power supply, depending on the configuration. If your controller does not output 12V or 24V at a minimum of 500 milliamps (0.5mA), a power solution will have to be implemented.
- Consider using Spark to supply power while manually operating the Rig
- Please contact us if you have questions about delivering power to the Rig
Usage Tips
- Mounting Launch onto a 20" c-stand & knuckle combination will provide a comfortable working height
- Level the Launch Pad for straight up & down trajectory. If you nail it, don't be surprised when the item you Launched lands in the same spot it started from!
- Use plastic dropcloths and bins to catch the objects being Launched
- Closing the Safety Valve and turning off the Safety Switch helps ensure the safety of the person resetting the Rig
Safety Valve
- Use the manual safety valve to depressurize the Rig in-between takes
- When in the Open position, the Rig is pressurized. When in the closed position, the Rig is depressurized.
- Confirm depressurization by checking the pressure gauge
Pressure Adjustment
- Pull the regulator's pressure adjustment knob downward to unlock, then turn clockwise to raise pressure or counterclockwise to decrease pressure. Push knob upward again to lock pressure at desired setting.
- Note that when the pressure is decreased, the excess pressure will need to be purged to achieve the accurate setting. The regulator will purge the excess when it reaches a certain threshold, but for minute adjustments consider activating the Rig one time to reset it to the new pressure.
Heads Up
- Launch moves fast, really fast, and it can toss a good amount of weight into the air... be mindful of this and keep a safe set.
- Use safety countdowns prior to Jumping to help ensure everyone is clear prior to activating the Rig.
Accessories
- Push Accessory Kit
- Water tight metal scoop attachment & lateral mounting plate
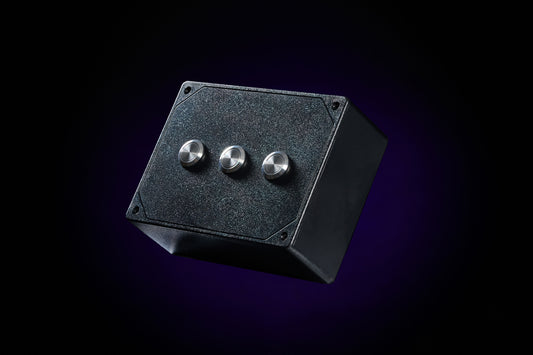
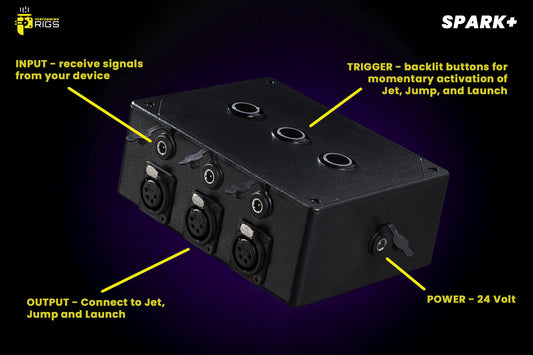
- Spark
- Three-channel power supply and push-button trigger box
Pairs Well With
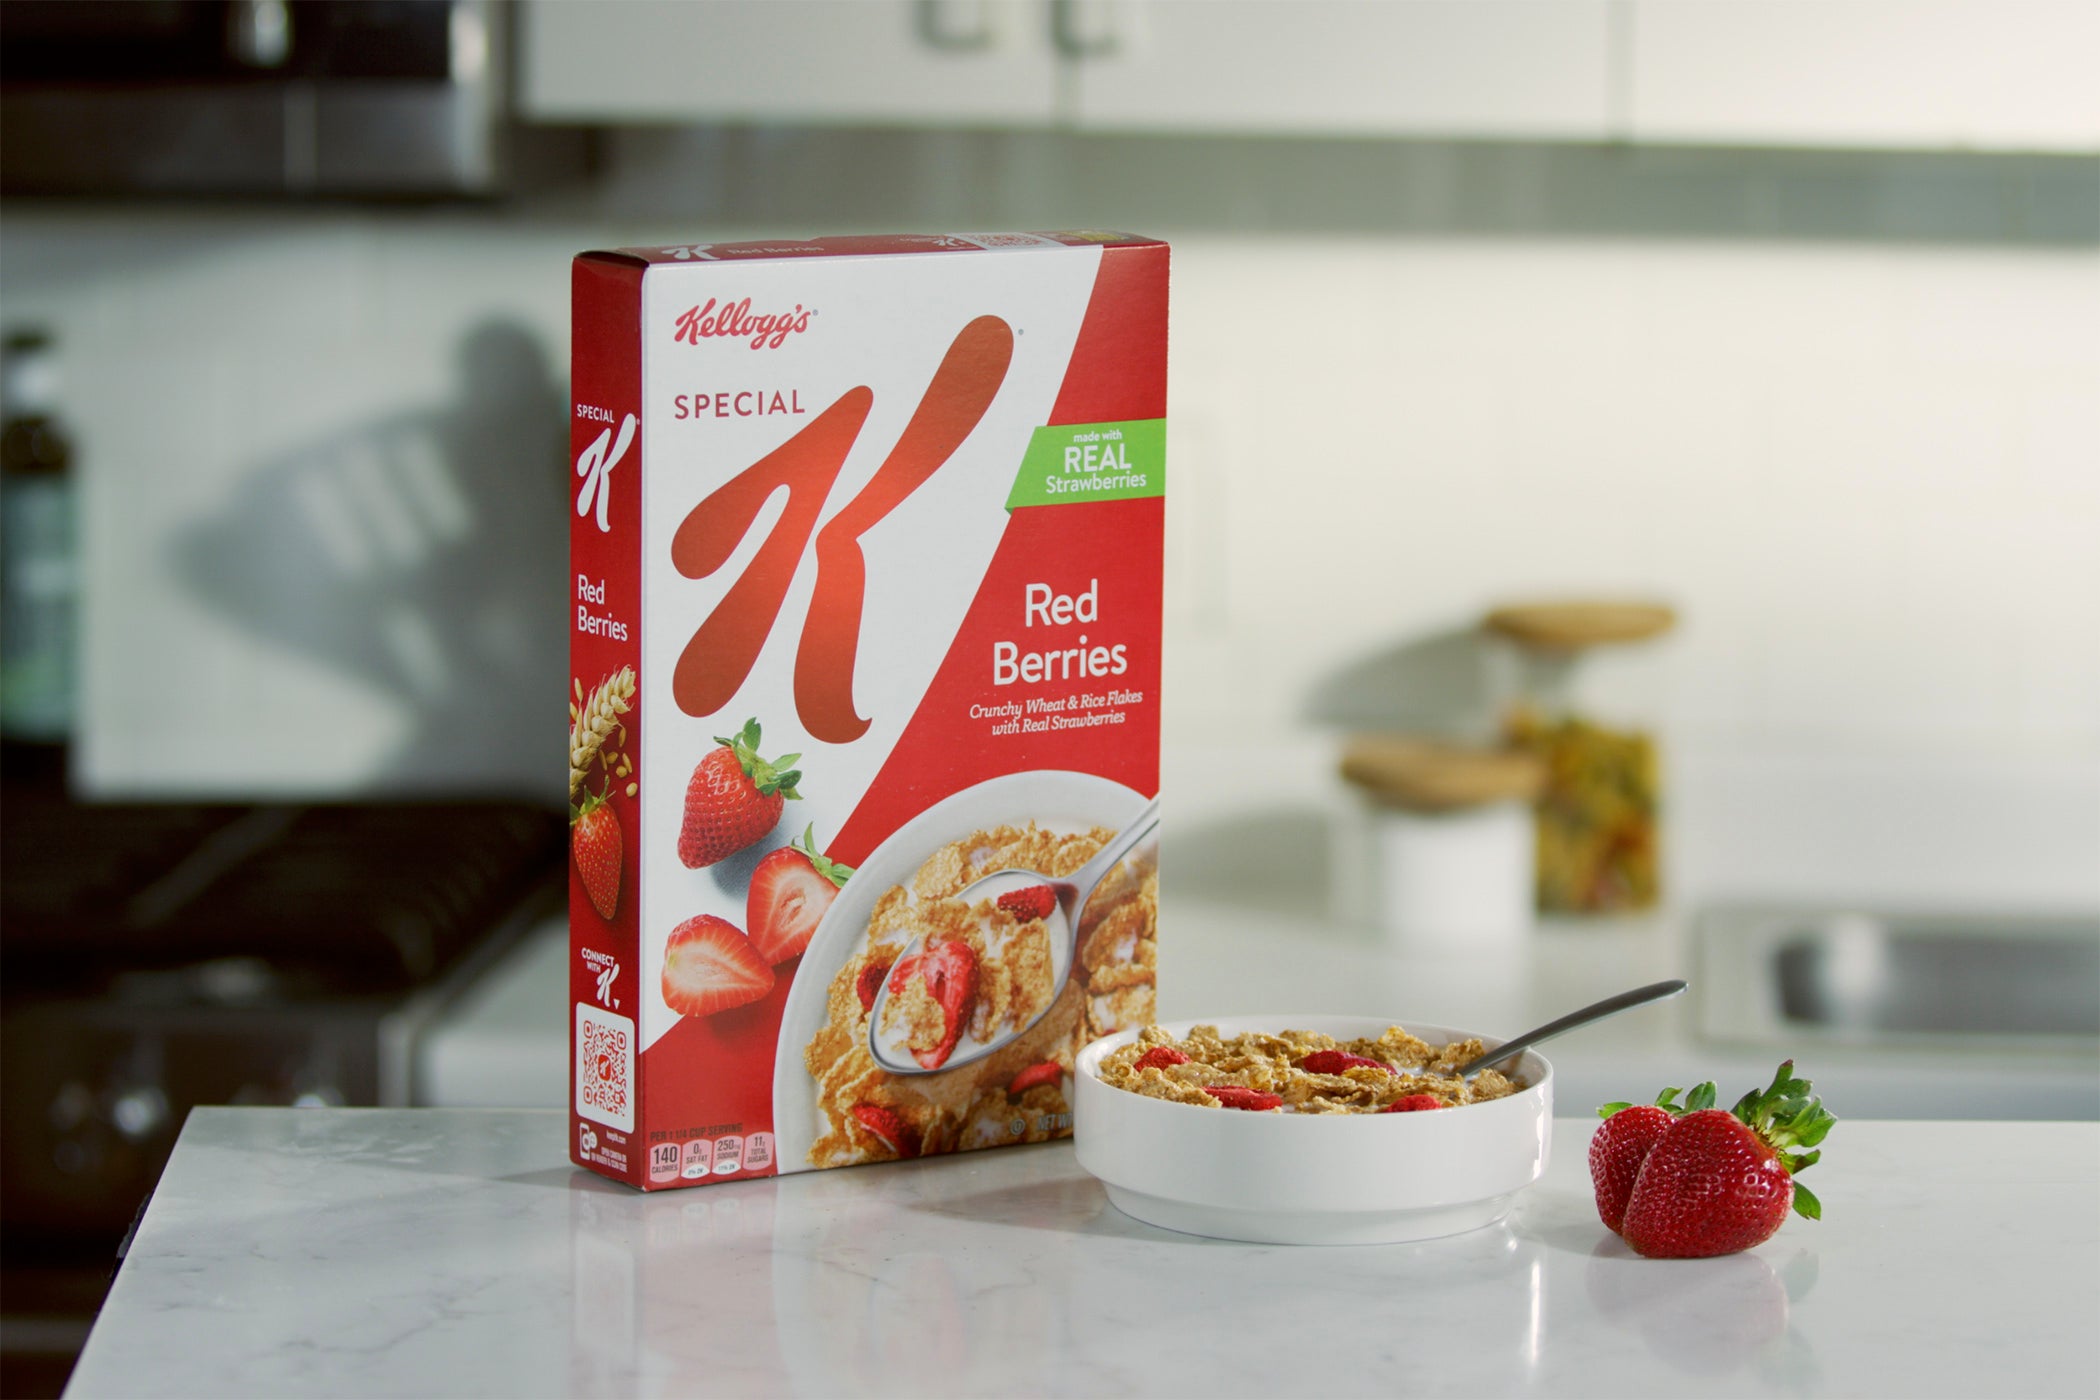
- Try using the Spill accessory for Pour in conjunction with Launch to get the wall of cereal effect seen in the videos below.
Suggested Items
- Plastic Drop Cloths
- Plastic bins to catch Launched items
Couldn't load pickup availability


Samples
BTS