1
/
of
3
Performing Rigs
Spark+ Kit
Spark+ Kit
Product Code: ASK-242
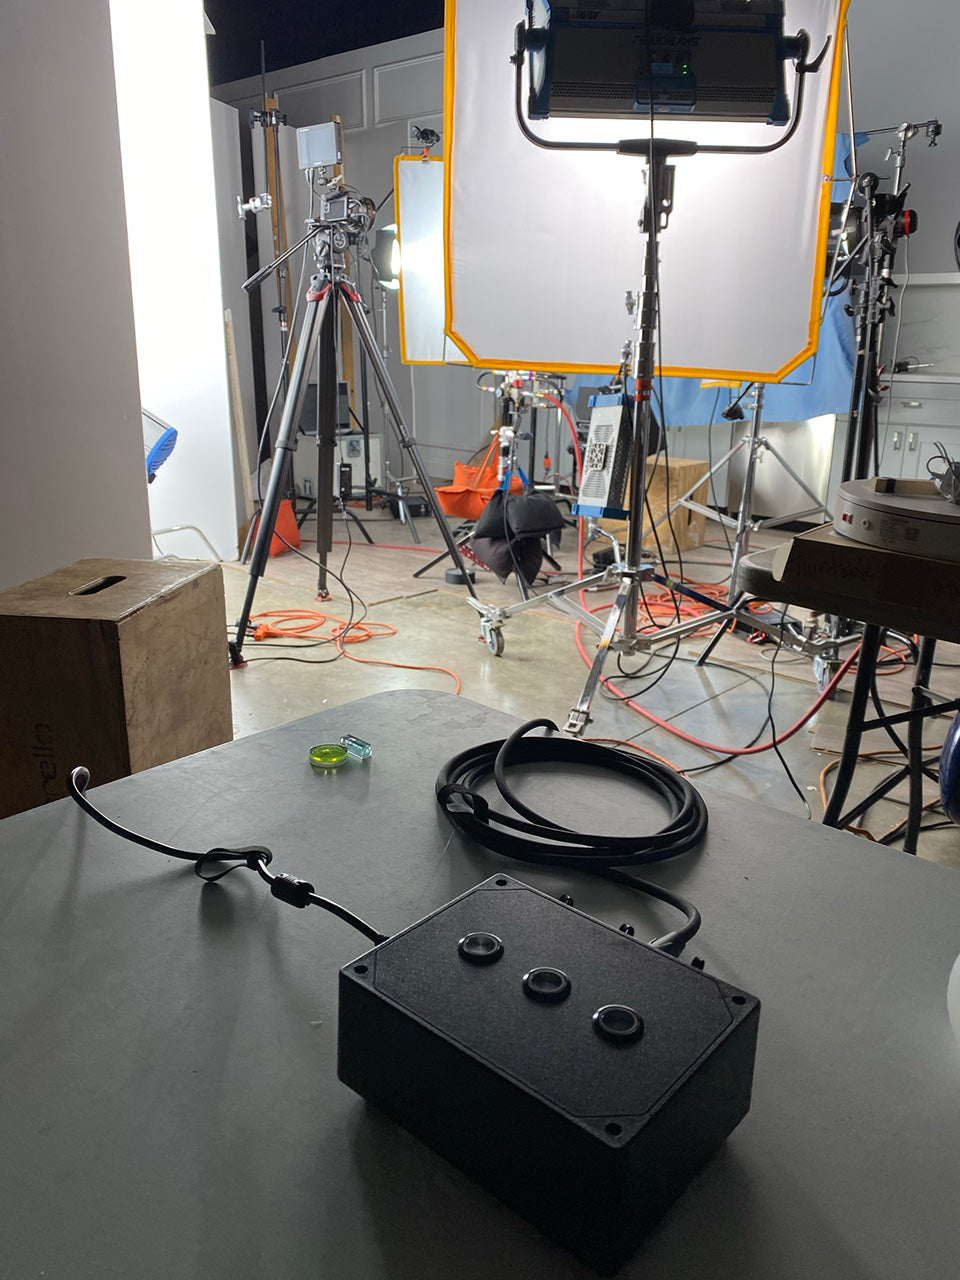
3-Channel manual trigger, power supply, and signal relay for Jet, Jump, and Launch (24V)
Features
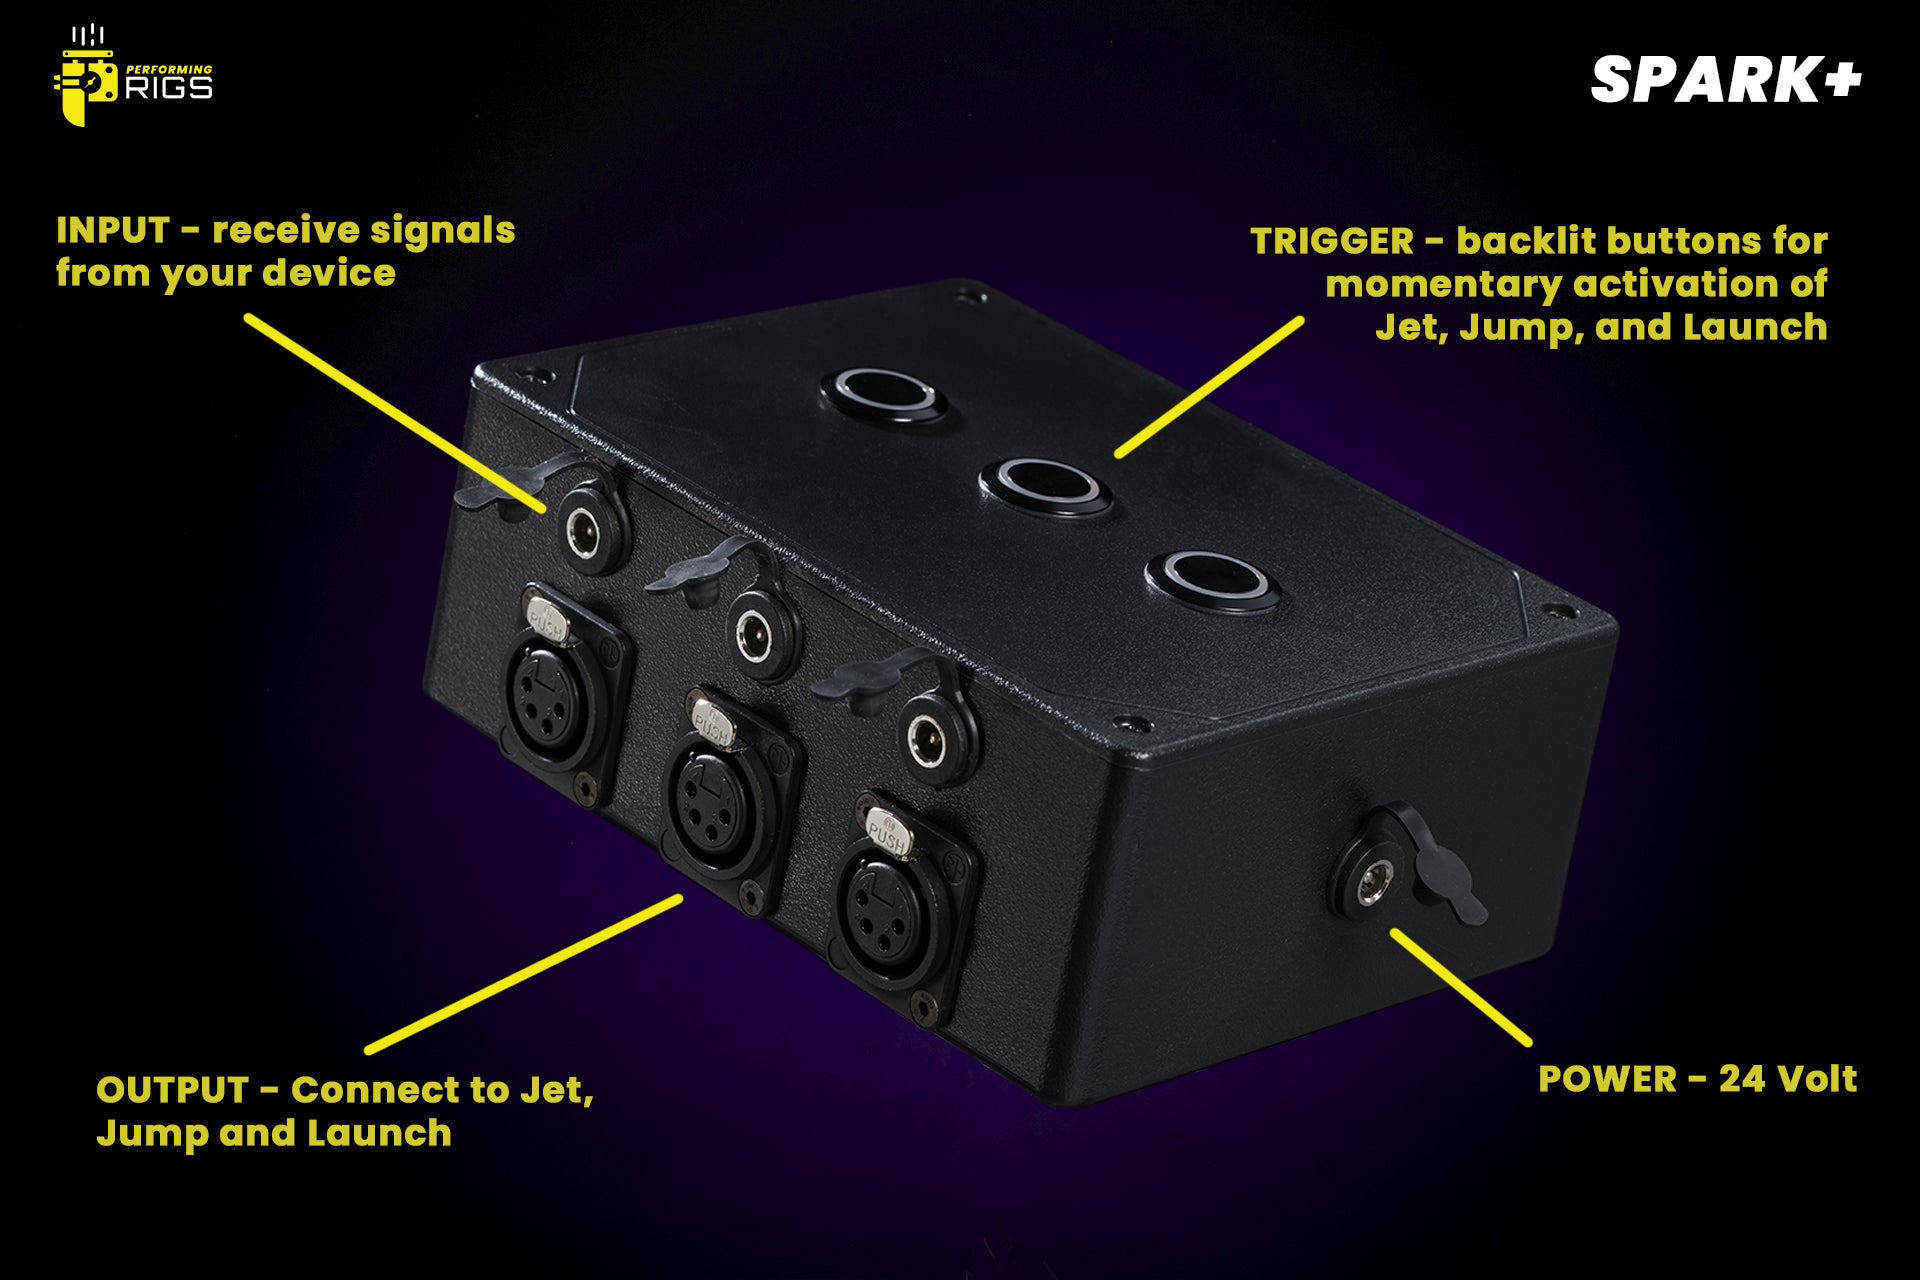
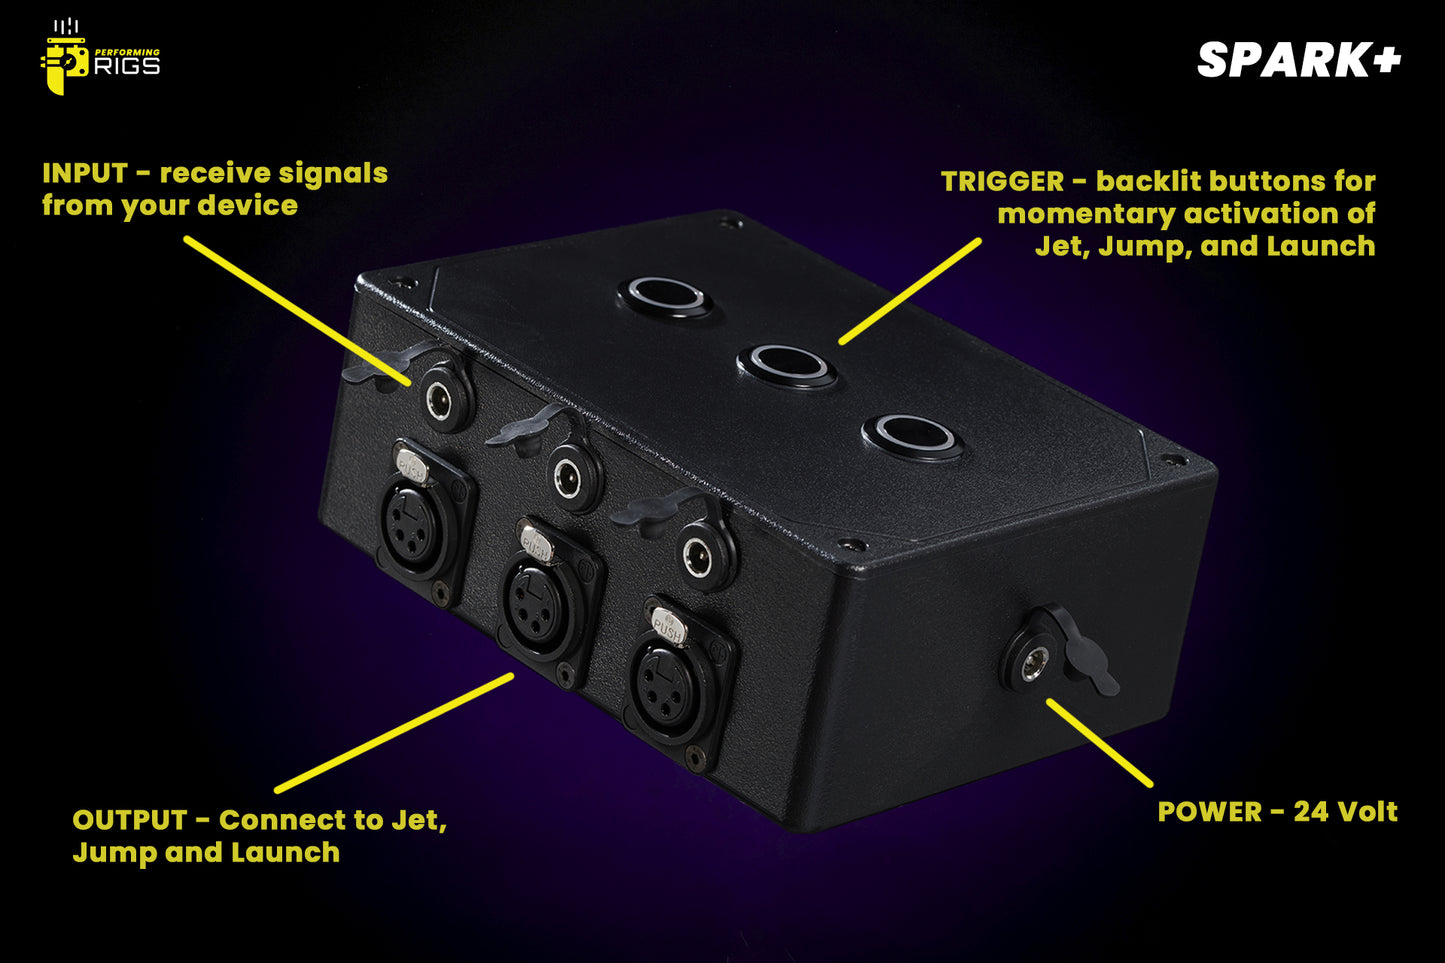
- Manual push-button operation of Jet, Jump, and Launch
- Inputs trigger signals from your device (MRMC Trigger Box, Dragonframe, etc.)
- Adds 24V to input signals for powering Jet, Jump, and Launch
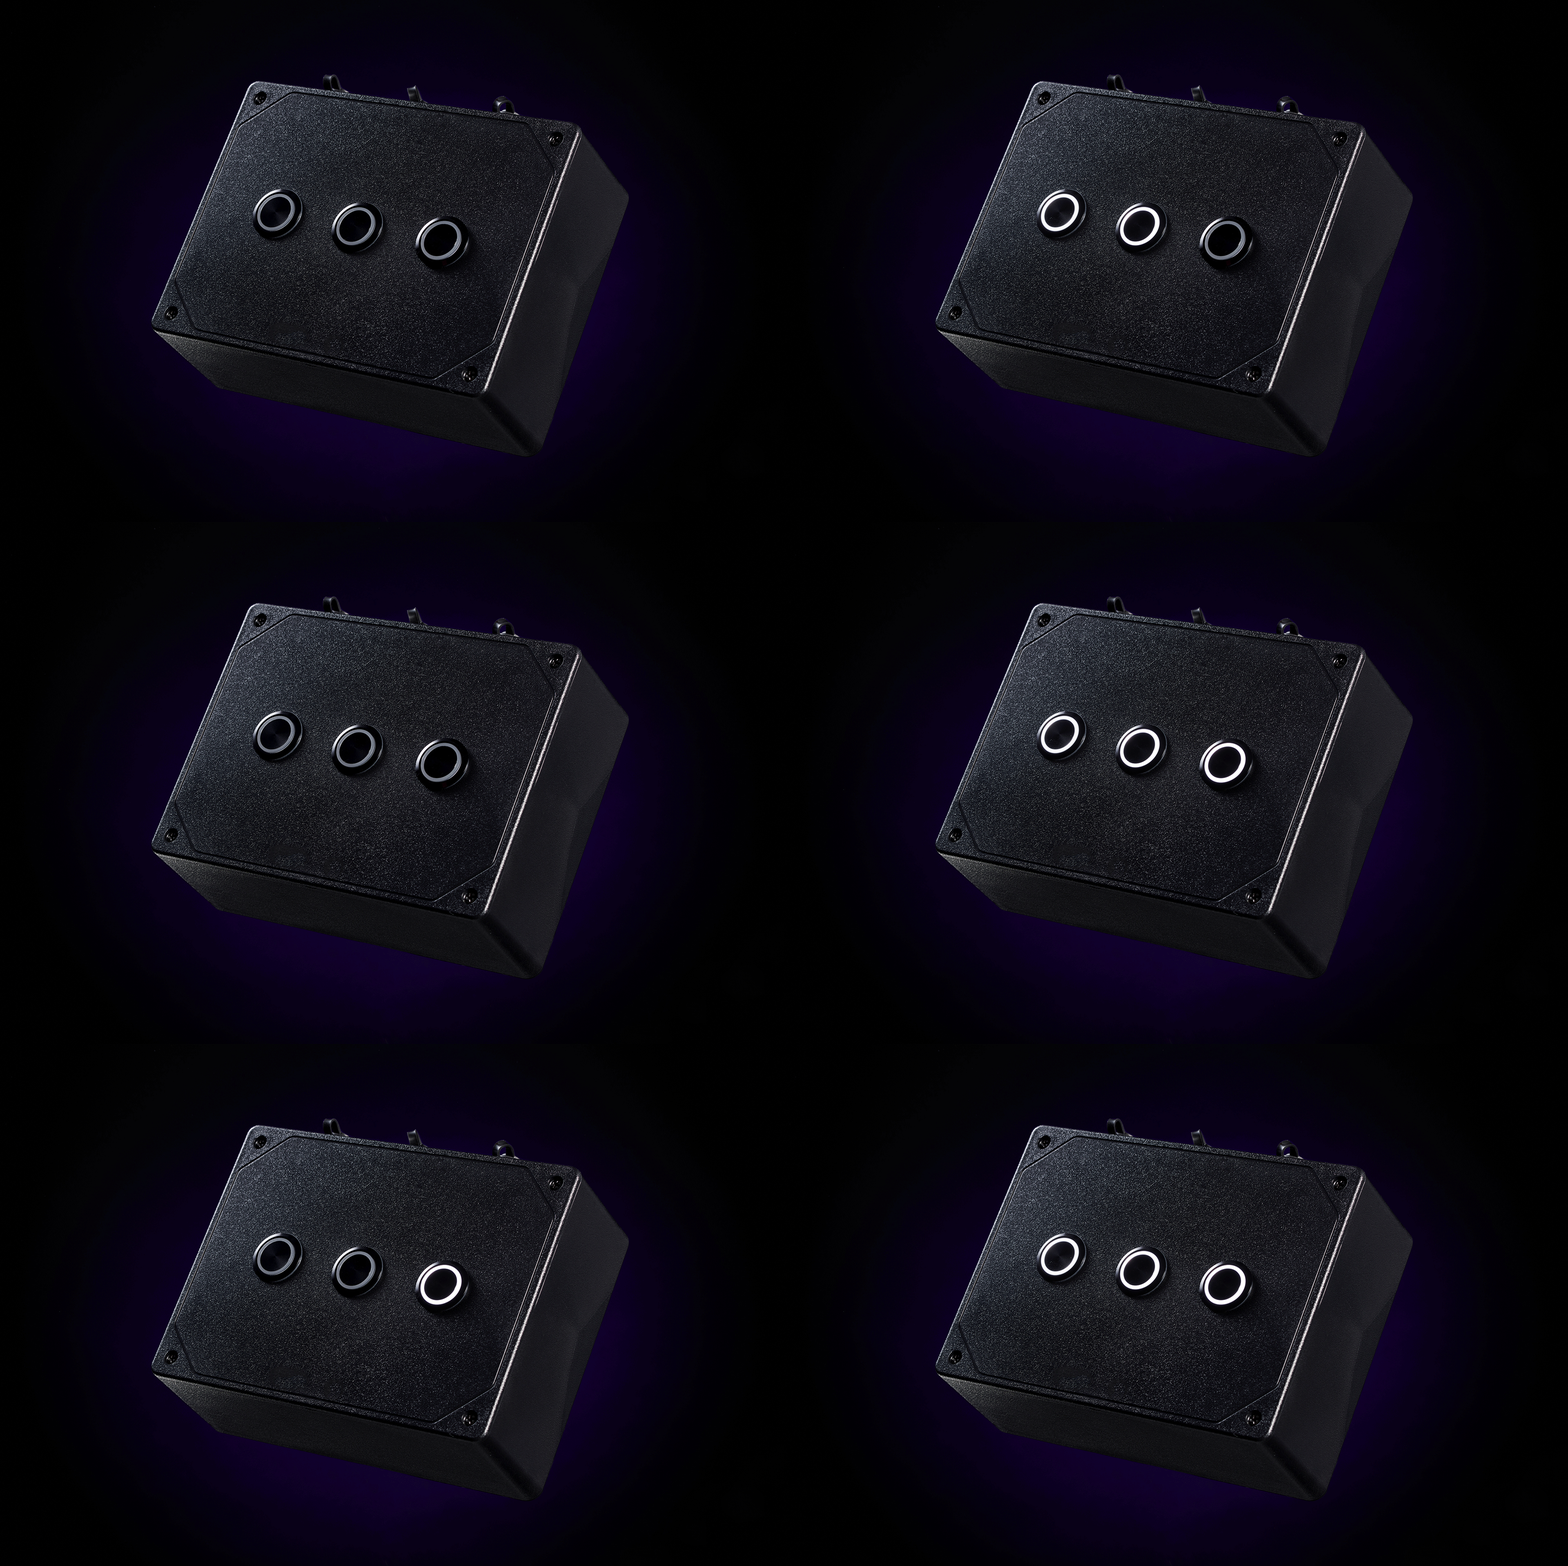
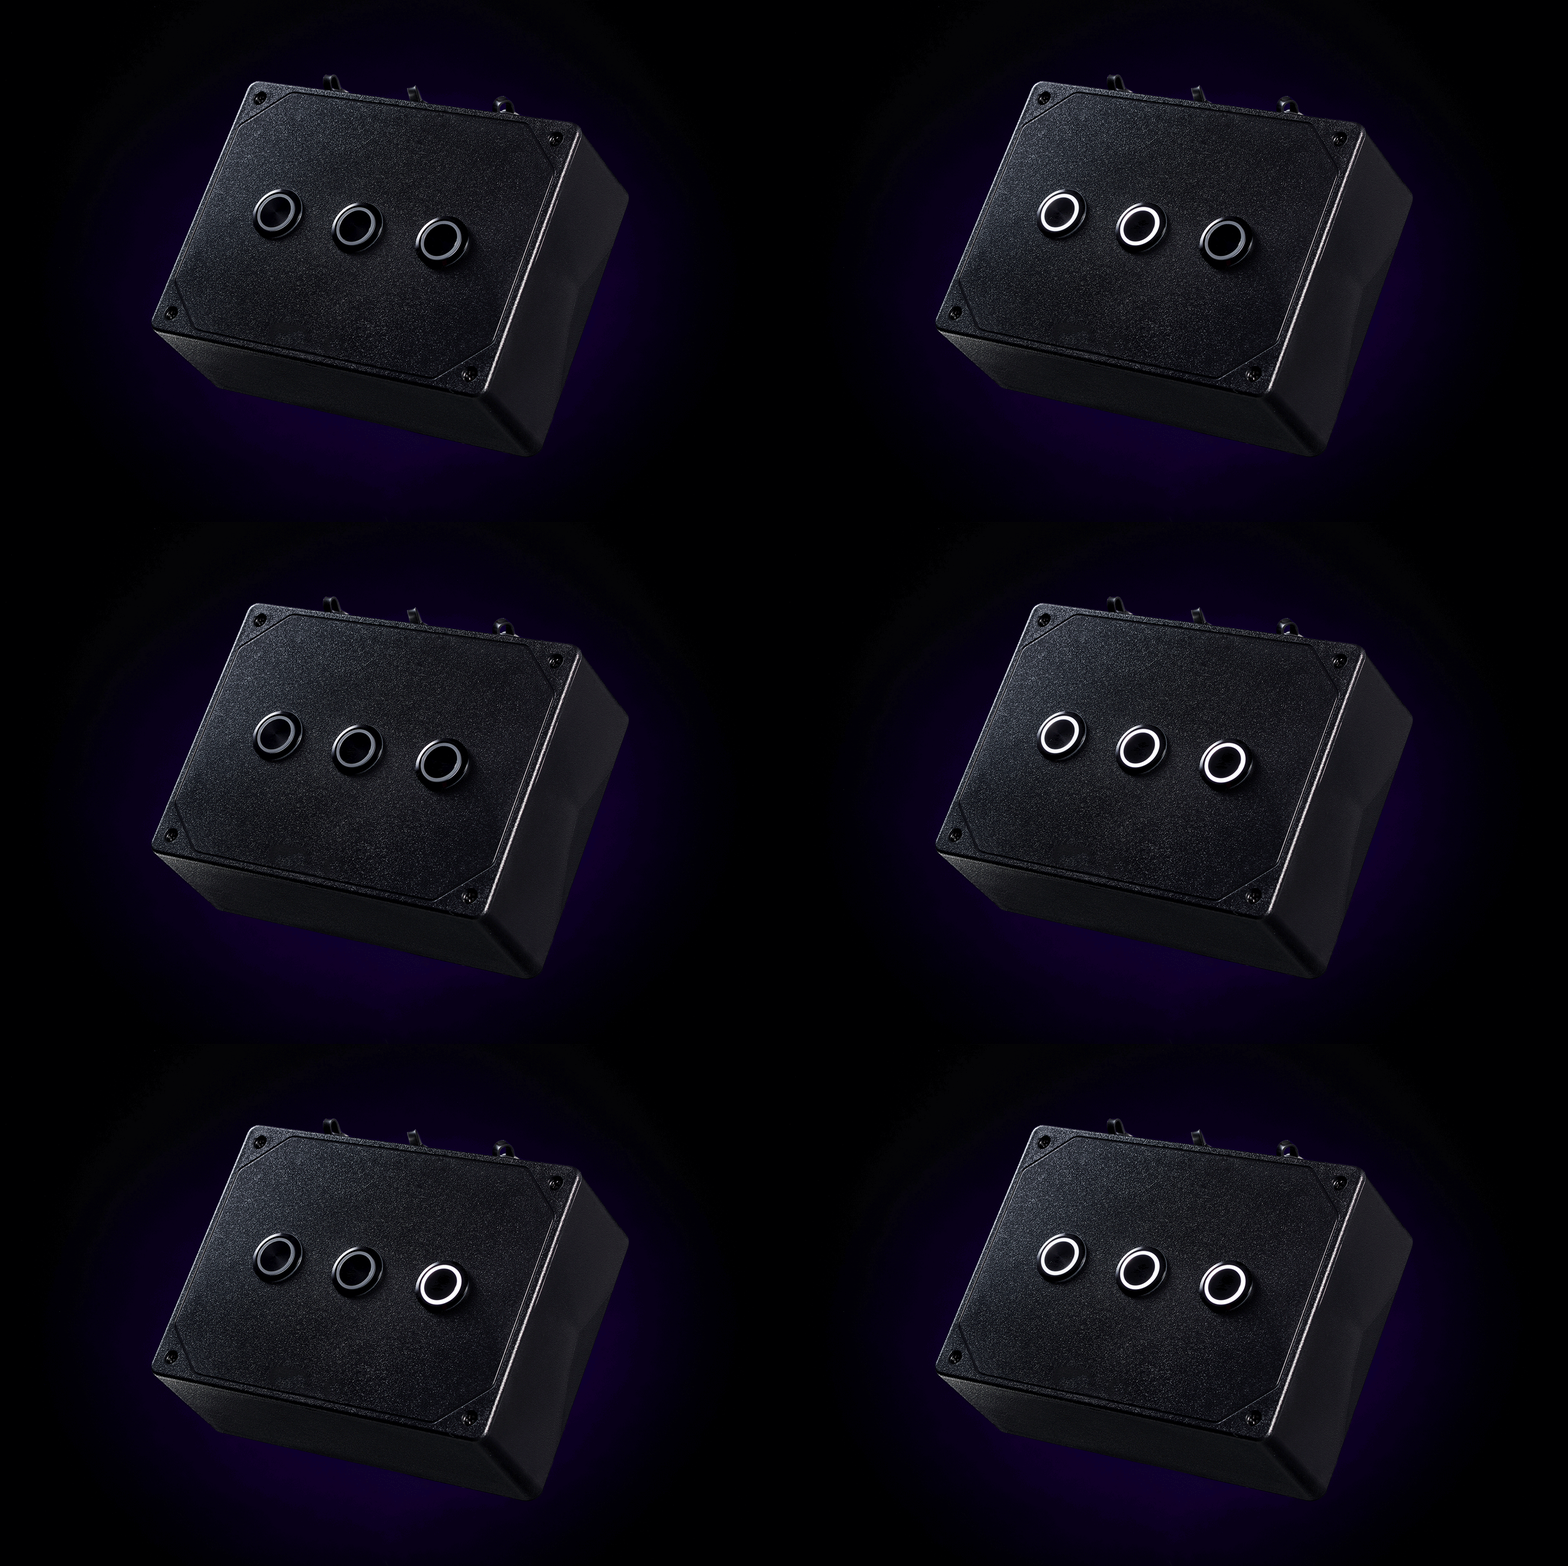
- Backlit buttons illuminate when pressed and when an input signal is received
- Included power supply allows for usage of Jet, Jump, and Launch without a robot arm or additional device
Uses
- Spark+ allows the Special Effects Rigger and Robot Operator to work independently, increasing efficiency
- Spark+ helps get your Rig dialed in quickly, and put away quickly
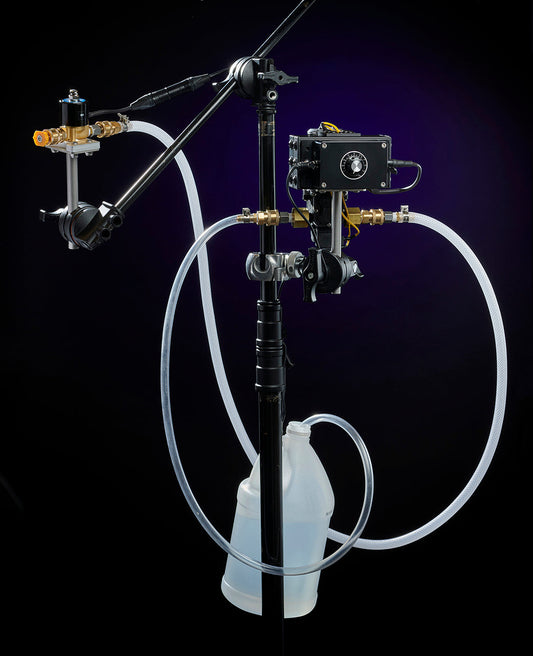
- Jet
- Manual operation of Jet
- Opening the valve to prime the pump, purge air from line
- Test firing the Rig to ensure accurate aim
- Decompressing & draining the Rig prior to putting away
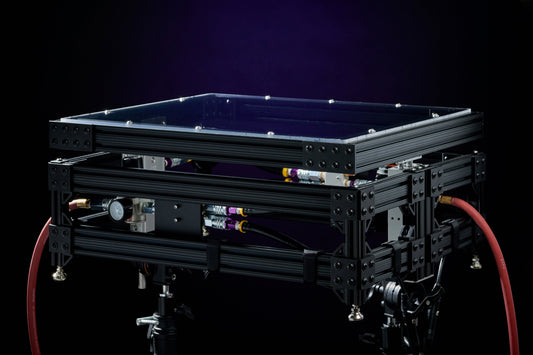
- Jump
- Manual operation of Jump
- Test firing the Rig to determine camera position, lighting, styling, etc.
- Decompressing the Rig prior to putting away
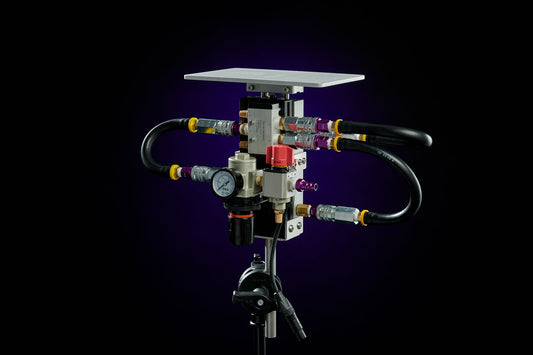
- Launch
- Manual operation of Jump
- Test firing the Rig to determine camera position, lighting, styling, etc.
- Decompressing the Rig prior to putting away
Specs
- Spark+ Dimensions = 6.112" L x 4.612" W x 2.5" H (155.24mm x 117.14mm x 63.5mm)
- Spark+ Weight =
- Gold contact Neutrik 4-Pin XLR connectors
- Momentary push-buttons mechanically rated to 1,000,000 cycles
Kit Includes
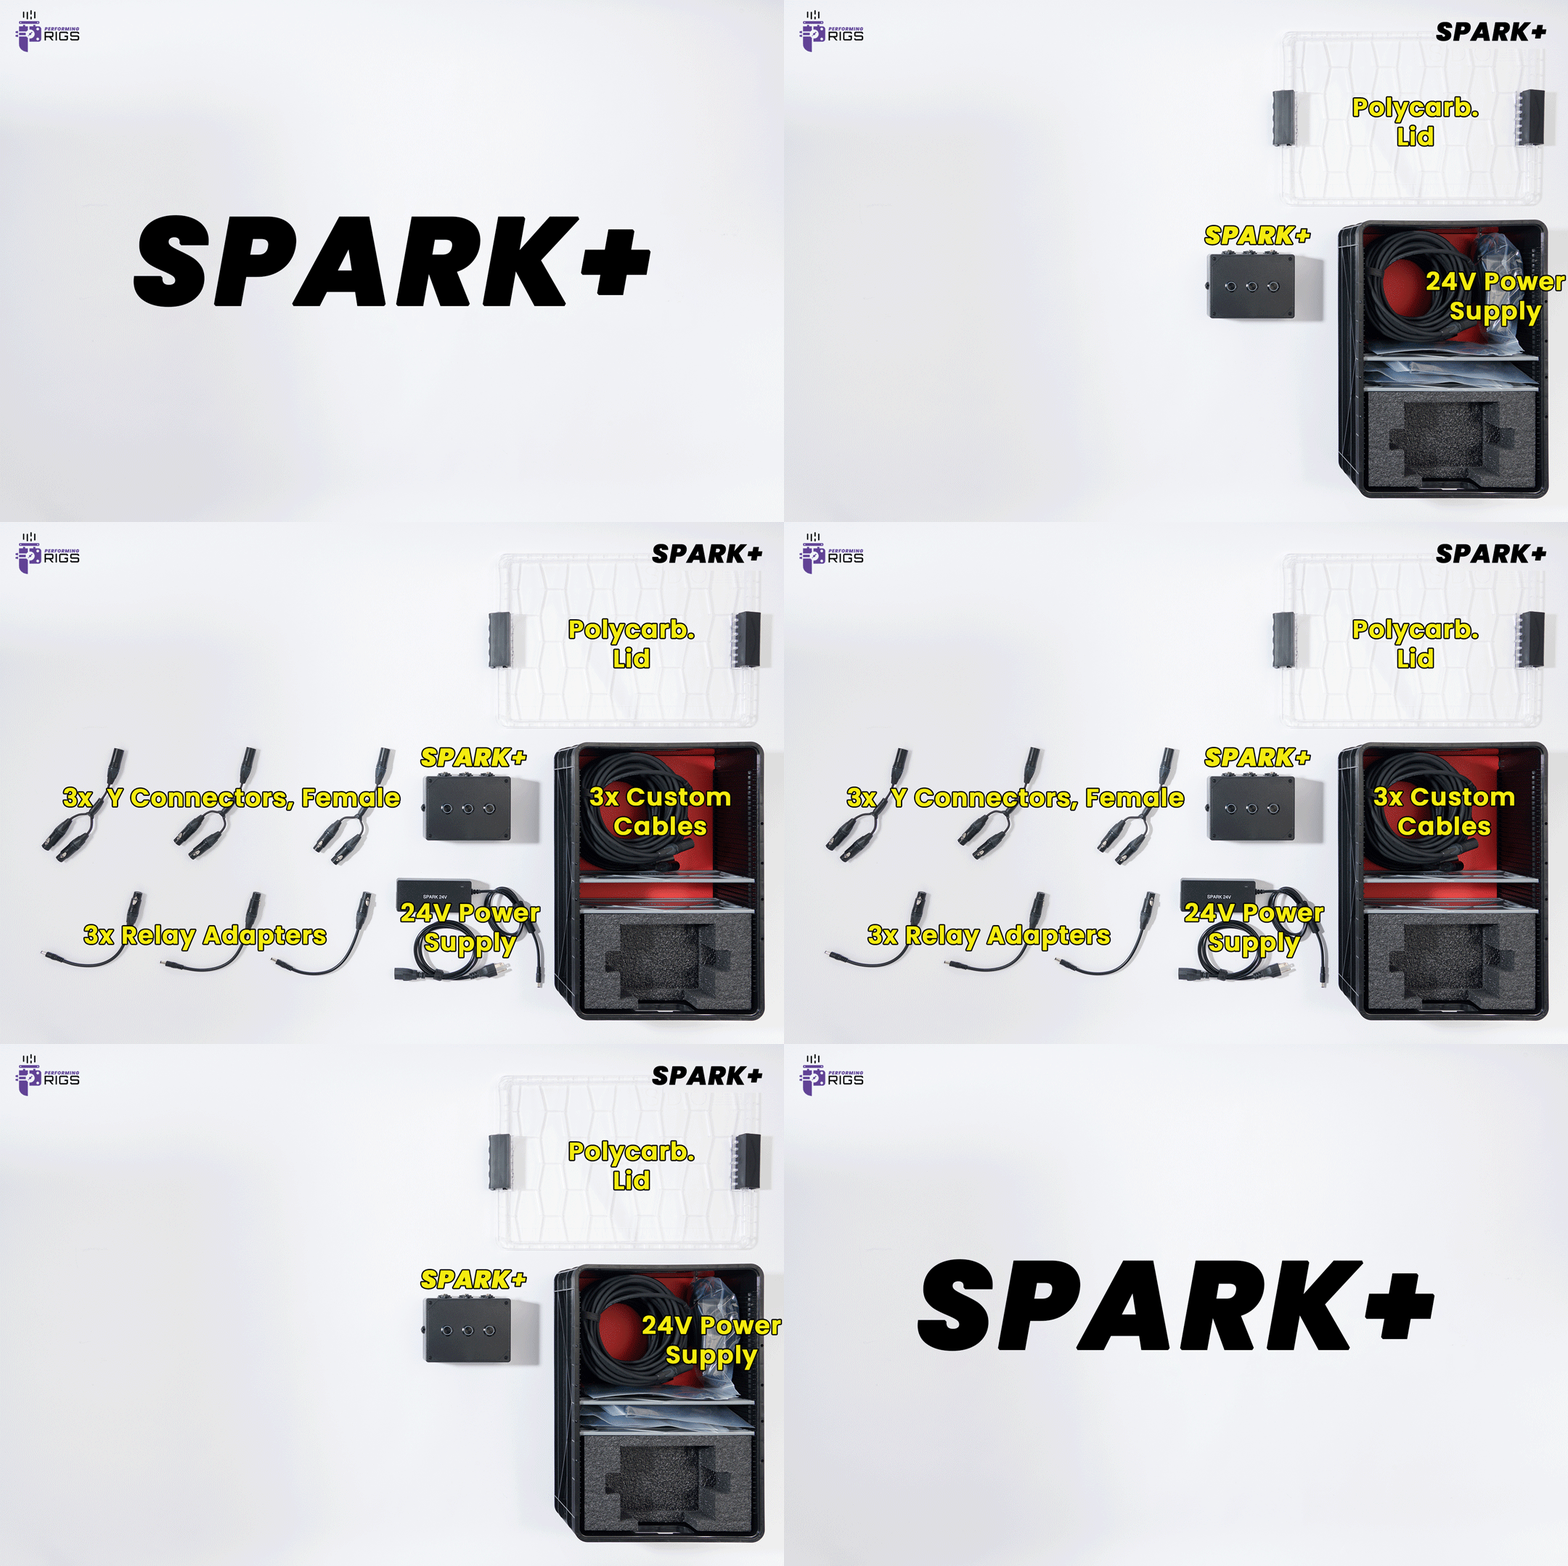
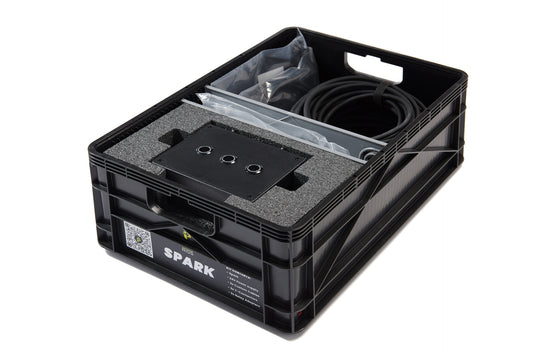
- Spark+
- 24V Power Supply
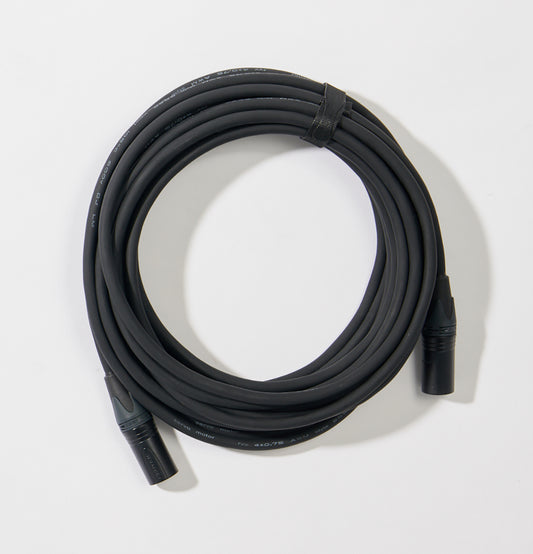
- 3x AC-001 Custom Cables
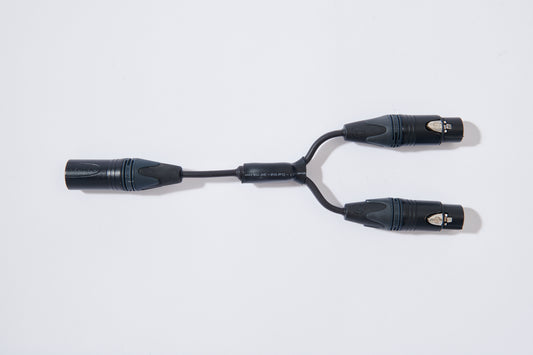
- 3x AD-001 Female Y Connectors
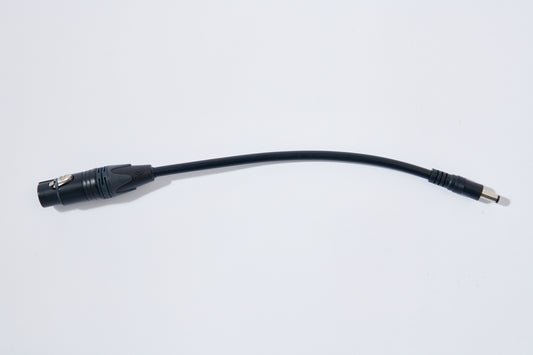
- 3x AR-001 Relay Adapters
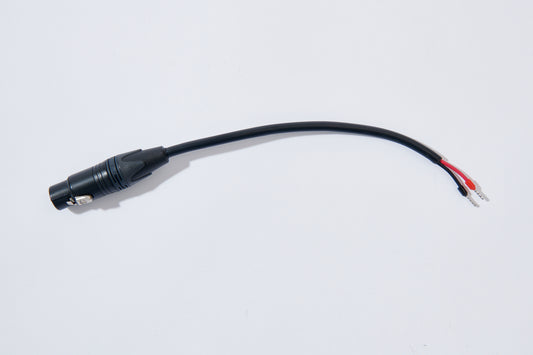
- 3x AW-001 Wire Lead Adapters
- Half Studio Crate for Spark
Connecting Spark+ to MRMC Trigger Box
- Connect to Spark+
- Connect the XLR end of a Relay Adapter to a Custom Cable
- Connect the barrel plug end of the Relay Adapter to an input barrel jack of Spark+
- Connect to your device
- At the other end of the Custom Cable, add a Wire Lead Adapter
- Connect the leads to your device. Black = Negative/Ground
- Now you can trigger the Rigs manually and through Flair!
*The MRMC Trigger Box does not output 24V power through the relay connections, so it is necessary to connect the setup as indicated above. Using the Y-Connector configuration as in the SISU setup will not work.
** This configuration will work for any device that provides a relay signal output
Connecting Spark+ to SISU Cinema Robotics
- Connect to Spark+
- Connect a Female Y Connector to Jet, Jump, or Launch
- Attach one end of a Custom Cable to one female end of the Y Connector
- Attach the other end of the Custom Cable to Spark+
- Connect to your SISU machine
- Attach one end of a Custom Cable to the other side of the Y Connector
- At the other end of the Custom Cable, add a Wire Lead Adapter
- Connect leads to your SISU machine. Black = Negative/Ground
- Now you can trigger the Rigs manually and through SISU Lab!
*SISU machines output 24V power, so no need to add a power supply.
Usage Tips
- Two Rigs can be triggered from one input signal or button press. To do this, add a Female Y Connector to the output of your choice, then connect 2 Rigs to the Y Connector. Now, both Rigs will activate at the exact same time
Couldn't load pickup availability
Share
Connecting a Pressure-Driven Rig to Spark & Spark+
Spark BTS
